The short answer
You can install some exterior cladding yourself if you are a competent DIYer and the area is low and accessible — but a full multi-storey house is usually a job for professionals. The fixing itself — breather membrane, battens, boards and trims — is within reach of a skilled DIYer for a ground-floor, single-storey or low feature wall where no scaffolding is needed. The harder parts are working safely at height, getting the ventilated cavity, weatherproofing and detailing right so the wall does not trap damp, and handling heavy materials like fibre-cement. Mistakes — a missing cavity, poor flashings, wrong fixings — can cause damp and decay that cost more to put right than the saving. On a two- or three-storey house, the need for scaffolding and the consequences of errors usually make professional installation the safer choice. Assess the height, the material and your own skill honestly.
DIY cladding can save money on small, low jobs, but it carries real risks on anything large or high. Here is what is realistic to do yourself and where to draw the line.
DIY cladding at a glance
- Low feature wallOften DIY-able
- Single-storeyPossible for skilled DIYer
- Two/three-storeyUsually professional
- Key risksHeight, damp, detailing
- Heavy boardsHarder to handle solo
What a competent DIYer can do
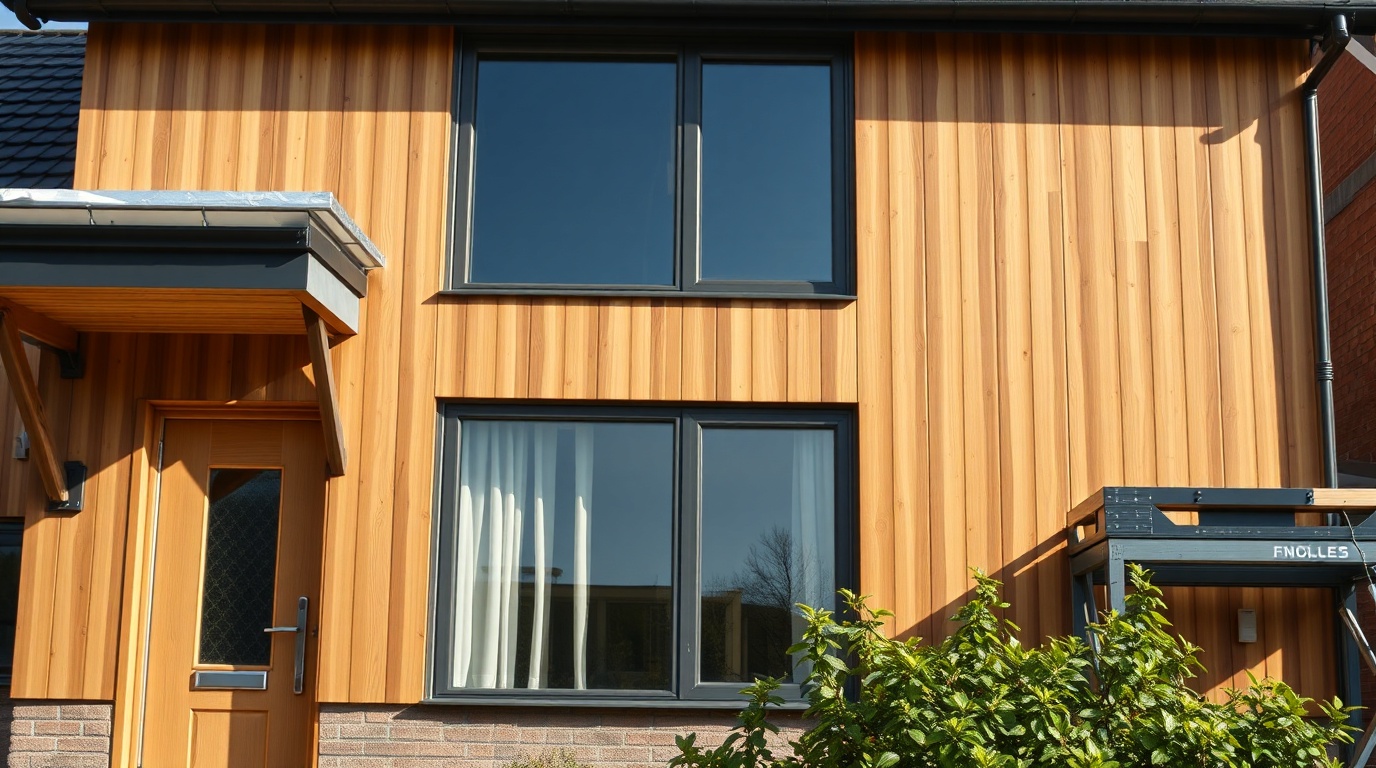
The cladding process itself is not mysterious, and a confident DIYer can tackle a small, low, accessible area. Fixing a breather membrane to the wall, setting out and fixing treated battens to form a ventilated cavity, fixing lightweight boards (uPVC or thin timber) to the battens from a level starter line, and adding trims and corner pieces are all achievable with standard tools and care. A porch, a single-storey extension wall, a low gable reachable from a tower, or a garden-room exterior are realistic DIY projects. The keys are following the manufacturer's fixing instructions, keeping the cavity open and ventilated, and getting the levels right so the finish looks neat.
Where DIY gets risky
Several factors push a job beyond sensible DIY. Working at height is the biggest: anything above single-storey needs scaffolding and the skills to work safely on it, and falls are a serious risk. Heavy materials like fibre-cement are awkward and tiring to handle alone and need the right cutting tools and dust control. Weatherproofing detail — flashings around windows and doors, the base and head closers, managing the ventilated cavity — is where amateur jobs most often go wrong, and a mistake here can let water in or trap damp. Timber expansion, correct corrosion-resistant fixings, and neat junctions all take experience to get right. The cost of fixing a botched install — including any damp damage to the wall — can easily exceed what a professional would have charged.
Safety, tools and rules
If you do tackle cladding yourself, take the safety and access seriously. Use a properly assembled tower or platform for low work, never overreach from a ladder, and do not attempt multi-storey work without proper scaffolding and training. You will need the right tools for the material — saws suited to the board, dust control for fibre-cement, and corrosion-resistant fixings. Check whether the work needs planning permission, as changing the external appearance can require it, especially in conservation areas or on listed buildings. And remember that on flats and taller buildings, the wall build-up is governed by fire-safety requirements in the Building Regulations and is not a DIY matter at all.
DIY versus professional — the honest call
The practical decision comes down to height, material and your own skill. For a low, simple, accessible wall in a lightweight material, a careful DIYer can do a good job and save on labour. For a two- or three-storey house, a large area, a heavy material, or anything with complex detailing, the combination of scaffolding, handling and the cost of getting the weatherproofing wrong usually makes professional installation the better value, even allowing for the labour cost. A professional also brings experience of the detailing and, with many systems, a manufacturer warranty that can depend on correct installation.
A sensible middle path some homeowners take is to do the preparation or a small low section themselves and bring in a professional for the height work and the tricky detailing. Whatever you decide, be honest about your skills and the risks: cladding done well protects and improves the house, but cladding done badly can trap damp and cost more to remedy than it ever saved.
A realistic DIY checklist
If you do take on a small, low cladding project, a methodical approach gives the best result. Start by checking the wall is sound and dry and dealing with any defect first — never clad over damp. Plan the build-up properly: breather membrane, treated battens to form a ventilated cavity, the boards, and the trims, with open vents at the base and head so air can move. Read the manufacturer's fixing instructions for batten spacing, fixing type and expansion gaps, and use corrosion-resistant fixings, especially with timber. Set out from a level starter line so the whole run stays true, and take care over the flashings and trims around any openings and at the base, since that is where water gets in if it is going to.
Equally important is knowing when to stop and call someone. If the wall turns out to need structural repair, if the area is higher than you can reach safely from a tower, if the material is heavy fibre-cement, or if there is complex detailing around bays or dormers, those are signs to bring in a professional rather than push on. There is no shame in doing the simple, low part yourself and handing the difficult or high work to a tradesperson — that often gives the best balance of saving money and getting a result that protects the house properly.
Frequently asked questions
Is it hard to install cladding yourself?
The board-fixing is straightforward, but getting the ventilated cavity, breather membrane and weatherproofing details right is where it gets hard. Working at height and handling heavy materials add difficulty. A low, simple wall is DIY-able; a multi-storey house usually is not.
Do you need scaffolding to clad a house yourself?
For anything above single-storey, yes. Cladding is sustained work at height that needs a safe, continuous platform. Multi-storey work without proper scaffolding and training is dangerous, which is one of the main reasons full houses are usually left to professionals.
What happens if cladding is installed badly?
Poor installation — a missing cavity, wrong fixings or bad flashings — can let water in or trap damp against the wall, leading to decay that may not show for months. Putting that right, including any damp damage, can cost more than a professional install would have.
Sources & further reading
- HSE — working at height
- Planning Portal — exterior walls and cladding
- HomeOwners Alliance — exterior cladding advice
Figures on this page are typical UK ranges drawn from published sources and depend on your specific property. They are guidance, not a quotation.