The short answer
Exterior cladding is installed as a layered, ventilated system fixed over the existing wall rather than glued flat to it. The usual sequence is: prepare and repair the wall; fix a breather membrane across it; fix treated timber (or metal) battens vertically (and sometimes counter-battens) to create a ventilated cavity; then fix the cladding boards to the battens with corrosion-resistant fixings, working from a level starter line; and finish with trims, corner pieces and details around openings, the base and the eaves. The cavity behind the boards lets air circulate and any moisture dry out, which is what keeps the wall and the cladding sound. Most domestic cladding goes up from scaffolding over several days. The exact method varies by material, but the membrane–batten–cavity–board principle is common to nearly all of it.
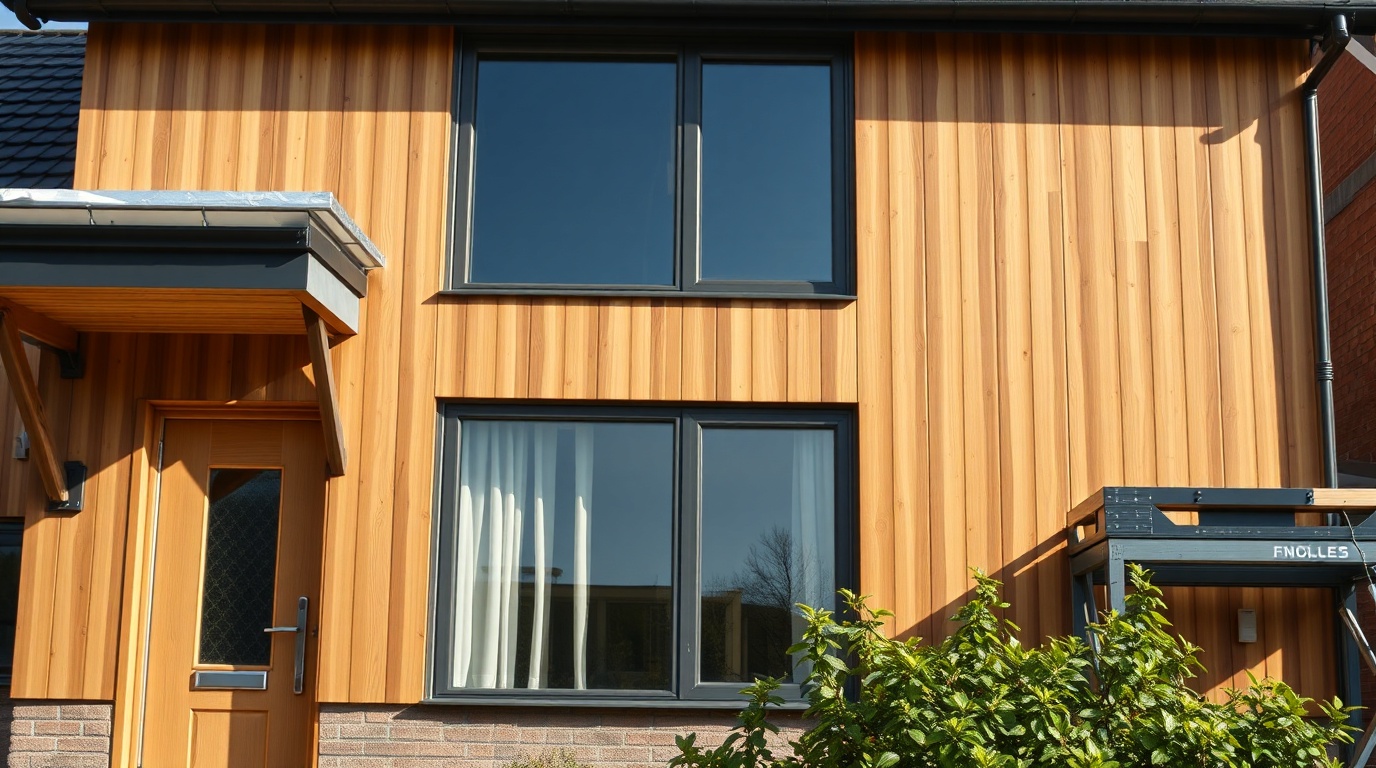
Cladding is not simply boards stuck on a wall — it is a ventilated rainscreen system with several layers. Here is how a typical installation goes together.
Cladding install at a glance
- System typeVentilated rainscreen
- Key layersMembrane, battens, boards, trims
- CavityLets moisture dry out
- AccessUsually scaffolding
- FixingsCorrosion-resistant
Step 1 — prepare the wall
Before anything goes up, the wall is checked and made ready. The installer looks for damp, cracks, loose render or crumbling masonry and puts these right, because cladding should never be used to hide a defect. Old cladding, redundant fixings and obstructions are removed. Downpipes, meter boxes, vents and external fittings may need repositioning or extending so they sit proud of the new cladding line. On an uneven wall, the batten layout is planned so the finished cladding will be flat and true.
Step 2 — membrane, battens and the cavity
With the wall ready, a breather membrane (a water-resistant but vapour-open sheet) is fixed across it. Then treated timber battens are fixed through the membrane into the wall, usually vertically for horizontal boards, creating an air gap. On some systems counter-battens are added to guarantee continuous ventilation in both directions. This batten layer is the heart of the system: it holds the boards off the wall and forms the ventilated cavity that lets air move and any moisture behind the cladding dry out. Battens are spaced to suit the board type and to land fixings correctly, and the base of the cavity is left open (often with a vented closure) so air can enter at the bottom and escape at the top.
Step 3 — fixing the cladding boards
The boards go on next, starting from a carefully levelled starter line at the base so the whole run stays true. Depending on the material and profile, boards are nailed, screwed or clipped to the battens — timber feather-edge is often nailed, composite frequently uses concealed clips, and fibre-cement is screwed or pinned. Corrosion-resistant fixings (stainless steel or equivalent) are used, especially with timber, because ordinary steel can rust and stain the boards. Boards are set out to manage expansion gaps — timber and composite move with temperature and moisture, so small gaps and the right fixing method let them do so without buckling. The installer works up the wall, checking level and alignment as they go.
Step 4 — trims, details and finishing
The final stage is the detailing that makes the cladding weathertight and neat. Corner trims close the external and internal angles; start and finish profiles tidy the base and the top; and flashings, drip details and closers are fitted around windows, doors, the base of the wall and at the eaves so water is shed away from the cavity rather than into it. Around openings, the cladding is cut and trimmed to fit neatly against window and door reveals. Once the boards and trims are complete, any protective film is removed and the surfaces cleaned down.
The whole job is usually carried out from scaffolding on a two- or three-storey house, and takes from a couple of days for a small area to one or two weeks for a full house, depending on size, material and complexity. While the principle — prepare, membrane, batten, ventilate, board, trim — is shared across materials, each product has its own manufacturer fixing instructions, and a good installer follows those for warranty and performance. Where cladding affects fire performance, particularly on flats or taller buildings, the system and its installation must comply with the Building Regulations, which is a matter for a competent professional rather than a general guide.
How the method varies by material
The membrane–batten–cavity–board principle is shared, but the detail of fixing the boards differs by material. Timber is typically nailed or screwed with stainless or other non-corrosive fixings, set out with expansion gaps because wood moves with moisture, and laid in a feather-edge, shiplap, tongue-and-groove or board-on-board profile. Composite often uses a concealed clip system that grips the board edges and hides the fasteners, giving a clean face but needing careful setting out so the clips align. Fibre-cement is heavier and harder, scored and snapped or cut with the right tools and dust control, then screwed or pinned to the battens. uPVC is the lightest, usually a tongue-and-groove board that clips or screws to the battens and is quick to fix. Each carries its own trims and starter profiles designed for that system.
Because of these differences, a good installer follows the specific manufacturer's fixing guide for the product — batten spacing, fixing type and spacing, expansion allowances and recommended trims all vary between systems, and getting them right is what keeps the boards flat, secure and within warranty. Mixing the boards of one system with the trims or fixings of another, or guessing the batten spacing, is a common cause of problems, so matching all the components and following the instructions matters as much as the underlying rainscreen principle.
Combining cladding with insulation
Cladding is sometimes installed at the same time as external wall insulation, which changes the build-up a little but keeps the same rainscreen logic. In a ventilated rainscreen with insulation, the insulation is fixed to the wall, the breather membrane and battens go over or around it, and the cladding is fixed to the battens with the ventilated cavity still in front. This makes the wall warmer and can improve the home's energy rating while giving it a new finish in one go. The detailing becomes more involved — the build-up is thicker, so reveals around windows and doors, the base detail and the eaves all need extending — which is why a combined job is best designed and installed by someone experienced with both.
Whether or not insulation is included, the same fundamentals decide whether the cladding performs: a sound wall, a breather membrane, a properly ventilated cavity, the right fixings, and weathertight detailing at every junction. The visible boards are the part everyone sees, but it is the hidden layers and the flashings that keep the wall dry and the cladding lasting, so a careful, methodical installation is what separates cladding that protects the house for decades from cladding that causes problems.
Frequently asked questions
Is cladding fixed directly to the wall?
No. Cladding is fixed to treated timber or metal battens over a breather membrane, leaving a ventilated cavity between the boards and the wall. The cavity lets air circulate and moisture dry out, which is essential to keeping the wall and cladding sound.
What goes behind exterior cladding?
Behind the boards is a ventilated cavity formed by battens, and behind the battens a breather membrane fixed to the wall. The membrane keeps water out while letting vapour escape, and the cavity allows any moisture to dry away.
Does cladding need flashings and trims?
Yes. Corner trims, start and finish profiles, and flashings around windows, doors, the base and the eaves are essential to shed water away from the cavity and give a neat, weathertight finish. They are part of a proper installation, not an optional extra.
Sources & further reading
Figures on this page are typical UK ranges drawn from published sources and depend on your specific property. They are guidance, not a quotation.